Ok so my preparation started on Sunday!
Day 1: All about "T". Sunday I decorated my table, ironed the table linens and set
The table! All I will have to do on Thursday is add silverware and glassware and most likely I will do that Wednesday night! Jamie also put the Turkey in the fridge to thaw!
Day 2: Grocery Store! I stretched my grocery shopping over a few weeks to cut down on the huge grocery bill at one time but on Monday Jamie and I went to pick up a few things that weren't available in the weeks before like cranberries! Plus I think we beat some of the RUSH!
Day 3: Organization! I double checked all my supplies, made sure all my casserole dishes were clean! Normally I would have started chopping and peeling but I had a Birthday Cake to make for a very special friend!!! Also I caught up on housework and anything else to make Wednesday easier! And made the cranberry sauce recipe that you can find below!!
Day 4: THE DAY BEFORE and the busiest! Today I will do all the following
-make cornbread for the dressing
-chop onions
-peel and boil 5 pounds of potatoes
-roast garlic
-make a pound cake
-make layers for a chocolate fudge and strawberry cream cake
-clean the kitchen floor after my baking marathon!
- and finish the birthday cake.
THANKSGIVING:
This will be a pretty easy day! We are eating at 2 so I will have time to watch the parade! First thing first we will get the Turkey ready to go on the EGG. Then I will make all the casseroles and make the yeast rolls so they have time to rise and then POOF it will all magically come together and we will have an amazing meal!!
Here's our menu:
Turkey a la Jamie
Cornbread Dressing
Corn Pudding
Roasted Garlic Mashed Potatoes
Sweet Potato Casserole
Green Beans
Deviled Eggs
Homemade Cranberry Sauce
Giblet Gravy
And Dessert:
Strawberry Pretzel Salad
Strawberry, Chocolate Cream Cake
I don't think there will be a lack of food at the Brady house!!!
So now on to the Cranberry Sauce. Jamie only will eat the kind from the can but I wanted to try this and it turned out great!
Here's the recipe:
12 oz fresh cranberries
3/4 cup OJ
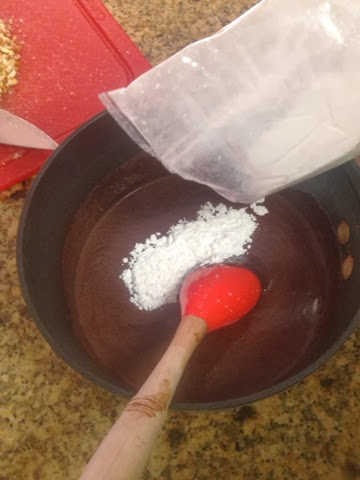
2/3 cup brown sugar
1/3 cup sugar

Combine all ingredients in a sauce pan, I used my Le Crueset.


This is what they will look like when they start to pop!


I hope all of you have a wonderful thanksgiving! I am thankful for everyone that reads my blog and everyone who asks for advice and recipes!!
Enjoy!!
B